How to Find a-Stud Without a Stud Finder
Published by David Tali en 06/10/2018
The male ego is fragile and often defies common sense. If your wife or partner wants to have a wall mounted TV in the bedroom, you gladly volunteer to take on this task and quickly discover that there is more to the job than simply attaching a bracket to the wall, hanging the TV on it and becoming an instant “hero” for your handyman skills. The procedure to hang the bracket will likely have a step that says, “Locate the wall stud and drill some holes….”. The easy thing to do is to go to the local Walmart and buy a $5 stud finder but that old ego of yours says “I don’t need no stud finder”, and you proceed to drill a line of holes in the wall finally hitting the stud after ruining the wall much to your wife’s chagrin
Steps To Find A Stud On A Wall To Mount TV
But what if you need to locate that stud and there is no hardware store nearby for the easy solution? Fortunately, there are other methods that can be used. Some are simple, and others will require you to put on the proverbial thinking cap and apply some logic and common sense. If a method requires an IQ equal to Einstein it will not be mentioned here.
Before describing the procedures to find that hidden stud we first need to know exactly what we are looking for. The wall studs are probably 2” x 6” and in the normal orientation but keep in mind that the true dimensions of a 2” x 6” stud are 1.5” x 5.5”. This means that the “target” is the center of a 1.5” width on any wall stud. The studs are normally placed 16 inches apart as measured from the center of each stud. If the attic or attached garage walls have exposed studs, then this is a good way to verify the 16” distance. If you truly don’t know it may be wise to delay the project and get the house floor plan from the local County Clerk office.
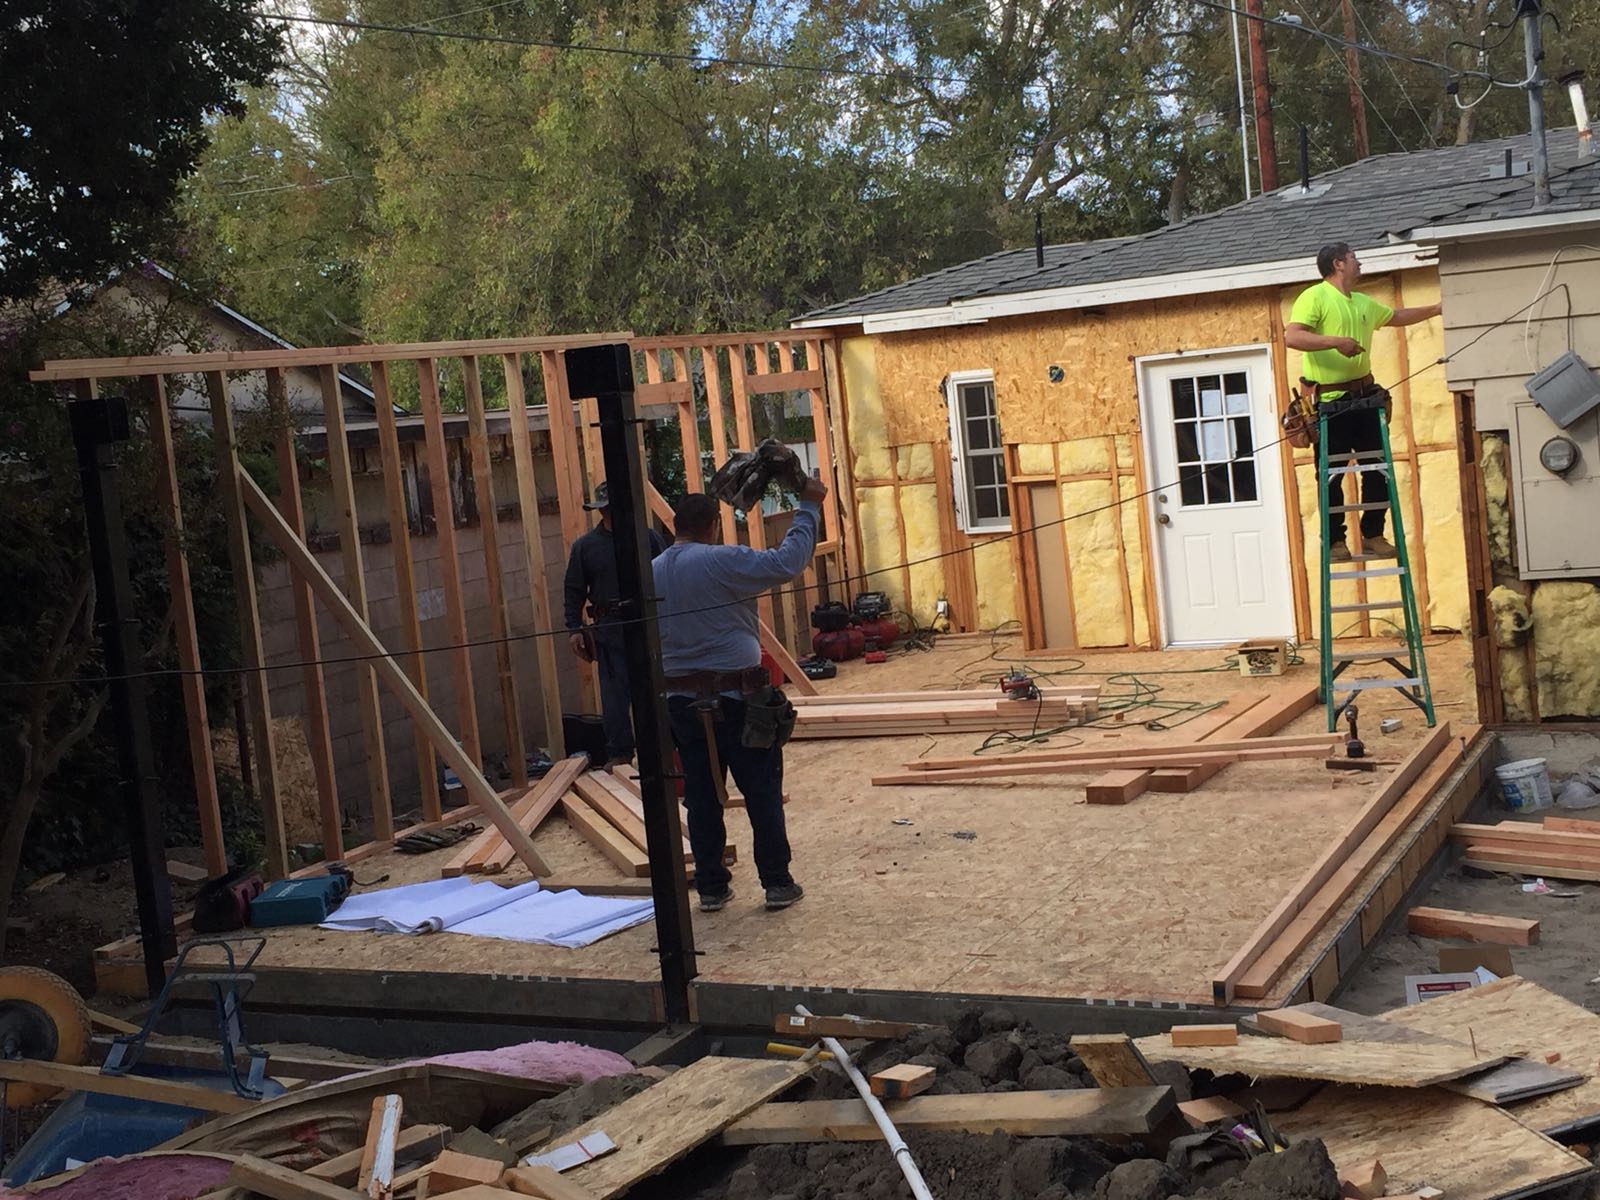
If the target stud is on the opposite side of an unfinished wall your problem is solved. Simply go the unfinished side and measure from the exposed stud to a door or other reference point. The stud will be the same distance from the reference point on the finished side where you need to drill the hole. The key here is to be very careful and precise in your measurements. Use a rope, chain or even a long strip of cloth if you don’t have a tape measure.
Does the wall have an electrical outlet? If yes, then the outlet box is almost sure to be attached to a wall stud.
To be completely sure, turn off the electric breaker to the room for a few minutes, remove the outlet cover and you should be able to see the stud. Use a flashlight if needed. If the outlet stud is not the target stud, measure in 16-inch horizontal intervals until you locate the target stud. Since most outlets are on the bottom of the wall you will need to measure 90 degrees up on any stud to the desired height to drill the hole.
Floorboards and other decorative wall trim pieces are nailed in sections using the wall stud as a break point between each section. A close inspection of the floor trim should yield some evidence of these break points like a slightly indented nail hole or an area where the paint has settled into the small diagonal slot between the sections. The midpoint of that diagonal slot should be the center of the stud. Other studs can be found by using the 16-inch interval measure as described earlier.
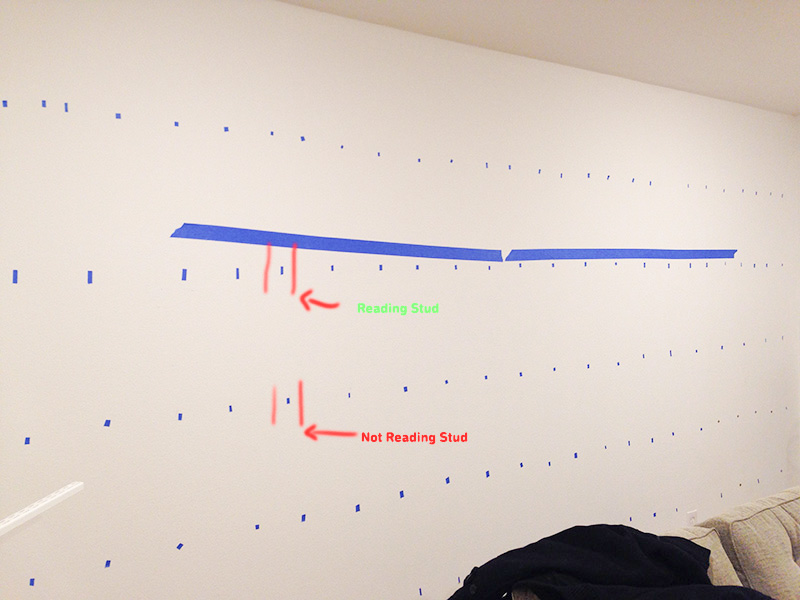
I will bet that you are wondering why I have not mentioned the obvious method which is the “knock test” until now. With luck the stud can be found by tapping along a wall with your fist or a small hammer until the sound changes from a hollow rap to a more solid thud. The risk with this test is damaging the wall with an overzealous knock or not being able to locate the actual center of the stud. If there is no other alternative, it is best to use it in conjunction with the final method I will describe.
Let us assume that the wall 90 degrees from the target wall has a ½ thick drywall that is attached to the corner stud. The closest stud in the target wall will be either 12, 16 or even 24 inches from the corner stud. To find the likely center point for studs in the target wall measure 10 ¾”, 14 ¾” and 22 ¾” from the corner. The 1 ¼” difference in each measure is to account for the ½” drywall plus the ¾” distance to the center of the corner stud. Then, the “knock test” can be used to verify the stud location and the 16-inch interval measure can be used to find the midpoint of that elusive target stud.
Categoría: How To