Floor Tile Installation Los Angeles
Published by David Tali en 06/10/2018
A floor tile can be a most elegant, stylish addition to any room. Tile is easy to clean and great for pet owners looking to avoid expensive carpet cleaning caused by shedding and the inevitable “accidents” by “Rover” or “Fluffy”. To get that perfect look, however, the tile must be installed correctly, with the correct alignment of any pattern and keeping unsightly cut tiles to a minimum and preferably hidden. We will review some basic steps to reach that goal.
Just like painting any wall or ceiling, the floor surface must undergo preparation. This can be rigorous as the floor is the final resting place for dirt and grime and in the worst case, a previously installed floor from the past that will take old fashioned “elbow grease” (hard physical work for those not familiar with the term) to remove. You will want to have a bare, clean floor free of anything that will impede the tile installation. Remove any appliances, moldings, floor trim and be sure to check that the tile addition will leave space under any door, so it will swing freely on its hinges after the tile is installed.
The next phase of the tile installation is the layout showing the location of each tile
If you are inexperienced please get the advice of a pro especially with odd shaped rooms with features like a fireplace that disrupt a straight-line layout of the tiles. Tips for the tile layout and installation are,
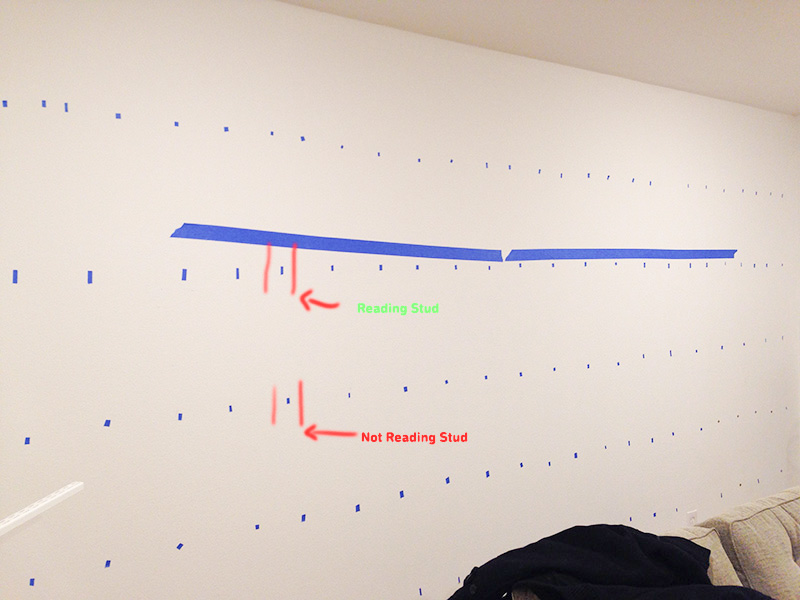
Divide and conquer. Finding the geographic center of a room is easy for a perfect rectangular room but can become complicated for larger rooms that have odd features or misaligned walls. The best strategy is to find the largest open rectangular area of the room, usually the center, and mark it using a chalk line. The chalk saturated string is “snapped” (or plucked) to form chalk lines on the floor showing the perimeter of the rectangle. The center of any rectangle is where the diagonal (corner to opposite corner) lines meet. Repeat this for the second largest open area until the room is divided into a few rectangles with each center point marked. Any remaining space will be near the walls and these spaces will need tiles cut to fit. When cutting tiles avoid thin sliver like tile sections of less than 4 inches. Use hidden areas to place cut tiles and to make needed adjustments to get the best tile arrangement.
The next step is to use little X shaped nylon tile spacers available at any hardware store. The spacers will form the intersecting corners of the tiles and will allow you to lay out the tile using the chalked marked rectangles as your “blueprint”.
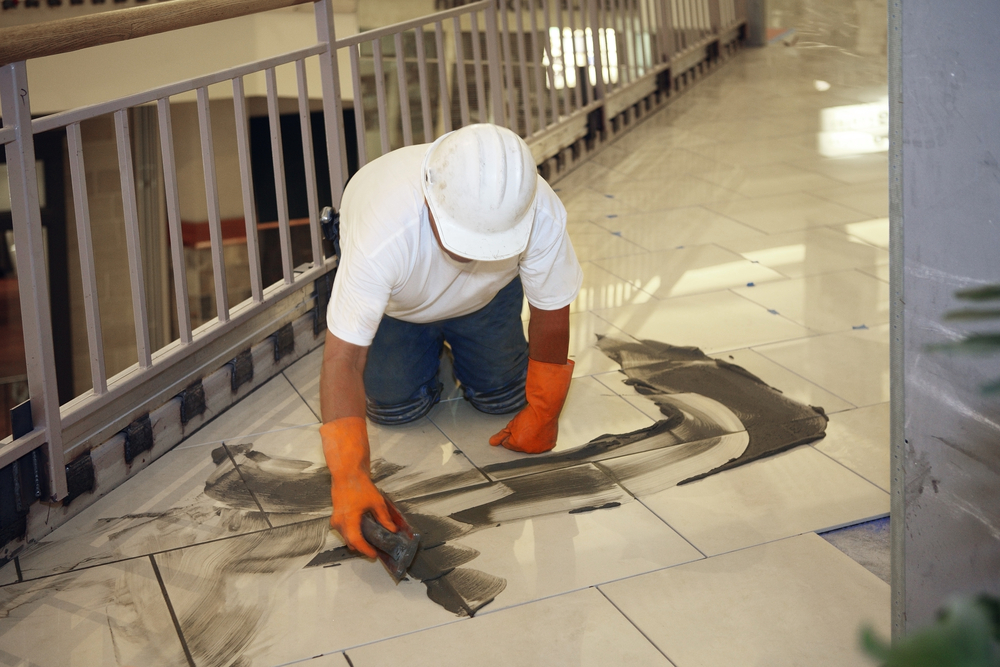
Applying the adhesive to the bare floor requires a technique that can be learned by watching a YouTube video or by getting advice from a pro or from any of the large hardware outlets. The goal is to end up with an even corduroy like pattern on which the tiles will be placed. Timing is also important as the tiles must be placed on the adhesive within 10 or 15 minutes after it is applied.
When laying the tiles, focus on the complete uncut tiles first to fill up the rectangles from Step 1. The process will be a repeating one of applying the adhesive for a few tiles, putting the tiles over the adhesive in that 15-minute window and then repeating the process until most of the floor is covered. After each small batch check that the alignment is correct, and that excess adhesive is cleaned from the tiles. The nylon spacers are used to maintain a perfect grid like arrangement and a rubber mallet can be used to gently tap each tile for a secure setting and to maintain an even surface.
At this point take a short break and when you return, repeat the same process for the areas of the floor requiring cut tiles. The original layout of the tile from step 2 will have allowed you to precut the tiles but you still may need to do a little trim work to get that perfect fit. When this is complete, crack open a beer and wait at least 24 hours before walking on the tiles and starting the next phase of the project.
Just as you did for the adhesive application get advice on how to properly apply the grout to the tile floor. The purpose of grout is to seal the spaces between the tiles turning the floor from individual tiles to a single flooring unit. Working carefully, remove the nylon spacers and with light pressure, force the grout into the spaces between the tiles. There are many grouting tools that can be used to obtain that perfect concave appearance between the tiles. This can be messy so use a wet sponge to clean any excess grout and haze that might form on the tiles.
One last step is to put a few extra tiles in storage and save some of the grout material in case a tile breaks and must be replaced. Unmixed grout will turn into a solid brick if exposed to air, so it is best to put some in an airtight bag or container and store it in a freezer.
We, at Los Angeles Home Redelers, pride ourselves on being professional, reliable, and affordable. We can help install the tile. We are fully licensed and fully insured. Contact us for a free, no obligation consultation at 1-818-532-0482
Categoría: How To