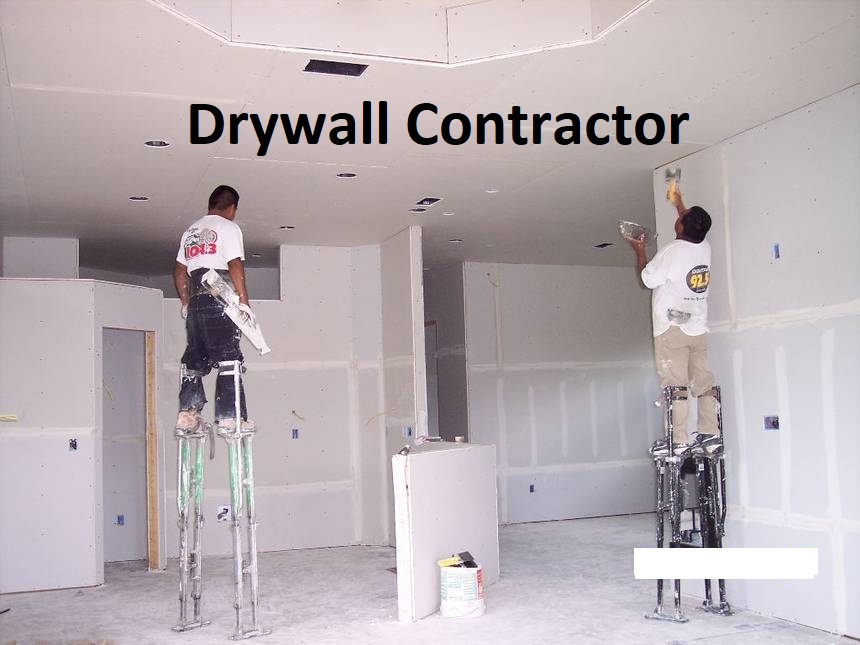
Installing Water Resistant Drywall
Published by David Tali en 06/10/2018
In 1916 a subsidiary of U.S. Gypsum Company (USG) called the Sackett Plaster Company invented “Sackett Board”. The name did not last but the product became known as drywall or sheetrock still widely used in housing construction today. In the 1960s, someone had the bright idea of making the paper coating a bit thicker over the gypsum core and then coating the paper with wax to provide a degree of moisture resistance. For some reason the paper was given a green hue to make it visually unique from standard drywall and it came to be known as greenboard.
The added wax coating makes greenboard somewhat thicker than traditional drywall with standard thicknesses of 1/2 inch and 5/8 inch. It also is not water proof but rather water resistant, so it is not a good choice of material when building a wall that will be exposed to water like a shower or bathtub area. It is ideal for moderately moist or damp areas like a basement and in areas of high humidity. One characteristic of greenboard is if it becomes wet it will become weaker than standard drywall and this is a major concern if greenboard is used for bathroom ceilings. Greenboard is not fire resistant so it should not be used where fire may be a hazard such as near a fireplace.
Greenboard is like drywall but with important differences in how it is handled and installed
Use the same procedure when cutting greenboard to size by cutting a straight line through the wax/paper layer and bending the board to snap off at the cut line. Greenboard does not require any special drywall screws or nails but care should be taken to prevent the head of any screw from going through the wax/paper coating. If possible, arrange the seams of the greenboard sections in a staggered manner so they don’t line up. This will result in a sturdier wall but the ease of covering up the seams with tape and joint compound will be sacrificed.
Installing drywall/greenboard on ceilings requires some extra considerations to prevent any sagging or failure
Greenboard is not a good choice for bathroom ceilings as this is an area where it may directly contact water. When saturated with water, greenboard becomes weak and is prone to failure as gravity takes its toll. The use of standard drywall and a coat or two of paint is advised for these areas.
For ceilings in a dry area, the use of 1-inch by 3-inch boards placed over ceiling beams like supporting slats on a bed frame is suggested.
This is called strapping and it will compensate for any strength issues with greenboard. The drywall screws should be used every 10 to 12 inches compared to the 16-inch separation used for a wall installation. It is worth repeating that the drywall screws heads should not go all the way through the wax/paper layer. The paper is what gives greenboard its strength.
After the greenboard is in place the use of joint compound, or mud, and tape is used to hide the screw holes, seams and any minor damage to create a smooth transition from one greenboard panel to the next. Press the mud into the seams using a putty knife and add a second application if the mud shrinks into the seam to make it even with the wall surface. The aim here is to create a smooth paintable surface that will appear seamless from wall to wall after a coat of primer and paint. Greenboard is not the solution for every moisture problem but when applied properly it will do a great job to minimize mold and mildew in those damp areas of the house.
Categoría: Blog