Attic Ladder With Stairs Installation Los Angeles
Published by David Tali en 06/10/2018
Most everyone at some time will need some extra storage space and there are many options to consider. Cheap junk can easily be stored in a storage shed or under a tarpaulin in the back yard, but this might not go over well in a deed restricted subdivision. You can rent a nearby storage unit and depending on how much room you need the cost will range from about $25 a month for a closet size space to around $200 per month for an air-conditioned garage size unit. If your attached garage is not available for storage, then your last option is to turn your attic space into a roomy and secure storage area.
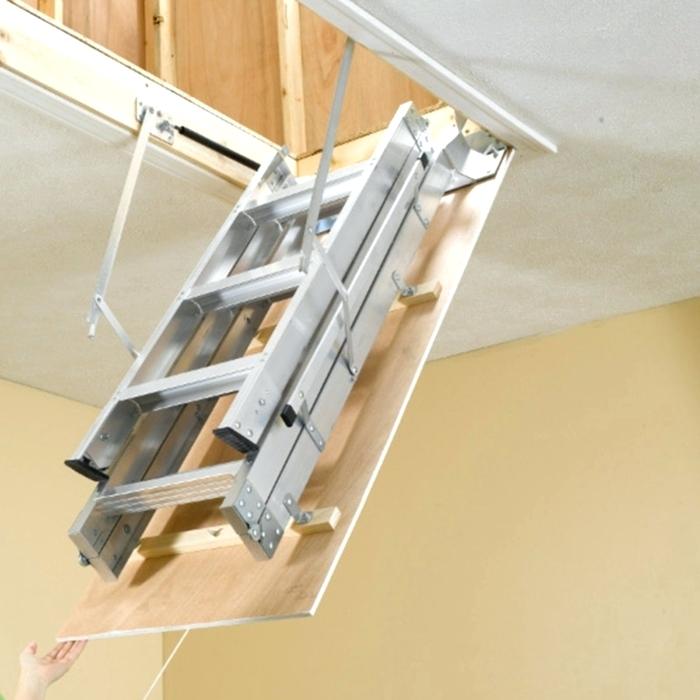
You then face an enigma. How do I get my boxes of Christmas decorations, luggage, boxes of documents and old photos into the attic? The solution is to install a folding latter that can be pulled down as needed and will fold neatly on top of a small attic door.
Attic Ladder With Stairs Installation Project
You see that this can be a DIY project with a $250 kit or maybe $800 to $1000 if you want to hire a skilled handy man for the job. Either way, the installation procedure will be about the same for any door and we will highlight those steps with this article as follows.
First determine the best place for the door. A large closet is ideal as it is hidden from the main living areas of the house. On the attic side you will need to check for any obstructions as the folded ladder will extend up a bit into the space when the attic door is closed.
After a rough opening has been cut an outer door frame will be needed. An existing header forms one end of the frame and a new header installed between the joists forms the other end of the outer frame.
The next step is to build a temporary support system to hold up a finished inner or opening frame. This is accomplished by attaching 1 x 3-inch boards on the ceiling side frame offset a bit to make a small ¼” lip extending inward that the opening frame can rest upon until it is secured to the outer frame with nails or lag screws. The support system can then be removed.
For this article the next steps will apply to most types of installations, but the installer will need to follow the instructions that come with the kit for exact details and any special tools or equipment needed for the assembly. There are several types of attic door / ladder kits on the market and the exact installation method will vary from one to the other. Most installation will involve the following:
Installation of the door panel. Test the door to make sure it opens and closes with ease and that it fits snugly into the frame with no gaps or the possibility of it getting stuck.
The spring / drum assembly is next and is installed on the inner opening frame near the door hinges on each side. These will hold the upper end of the staircase in position.
Next, a pulley system is used with the spring system to lift the door into the closed position and to keep it from falling too fast when opening the door. These are also attached to the finished opening frame.
Assemble the staircase if required and attach it to the attic side of the door as per the manufacturers instructions. The kit should supply the brackets to make the attachments.
Any pulley system will require wires or cables to work so these will be installed next. Again, the kit manufacturer’s instructions should be followed.
The final step is to test he door / ladder assembly to make sure that the ladder sits securely to the floor and does not wobble when someone is climbing the ladder. Check also that the pulley cables have the right tension for and easy operation.
One final note: If you are the one that must climb into the attic make sure that you have someone in the room below or else risk getting trapped in the attic if the closed door gets stuck. Have a cell phone to call for a “rescue” and don’t be too concerned if your rescuer sees a bit of humor in your entrapment.
Categoría: Blog